Behind the Scenes - Elevator Madness
This project was a uni assignment for the "Alternative Animation Course" at Griffith University. The brief was to make a 60 second film incorporating some sort of characterisation.
My idea was a little unusual, It was essentially a guy in an elevator doing absolutely "nothing". I wanted to see if I could hold an audience's attention for 60 seconds with only that. It was very tempting to add a storyline, but I knew if I did, then it would no longer be about "nothing".

Elevator Madness - Still
I had about 3 weeks to pull this one off. I started with the set using MDF for the side walls and foam board for the front and back walls which are removable. The handrails are 3D printed, the floor is felt and the wall panels are foam board with a textured card glued to the front.

1. finished set and character 2. 3D printed railings 3. finished painted railings, ready to be glued
For the character, I reused the armature from "Bush Turkeys of QCA" and made new silicone hands from scratch. For the head I made the back and ears out of sculpey, baked it, and then built up the rest of the face so I can hold on to the ears without them squishing.

1. hand mould (hydrocal 105) 2. head 3. sculpted hands
For a while I've wondered how to glue things to fabric (like the buttons) without leaving "glue stains" if you will. After searching around on other blogs I noticed two words, "Contact Adhesive", and life has never been the same since. It worked exactly how I needed it to.

Contact Adhesive
I thought that I would use a lot of hot glue for this project but in the end I used PVA for wood, super glue for things like 3D printed parts, double sided tape for sticking paper to the panels, blu tack to hold his hat in place, contact adhesive for the buttons and absolutely no hot glue. Which is a shame because I bought heaps of it thinking that I would.
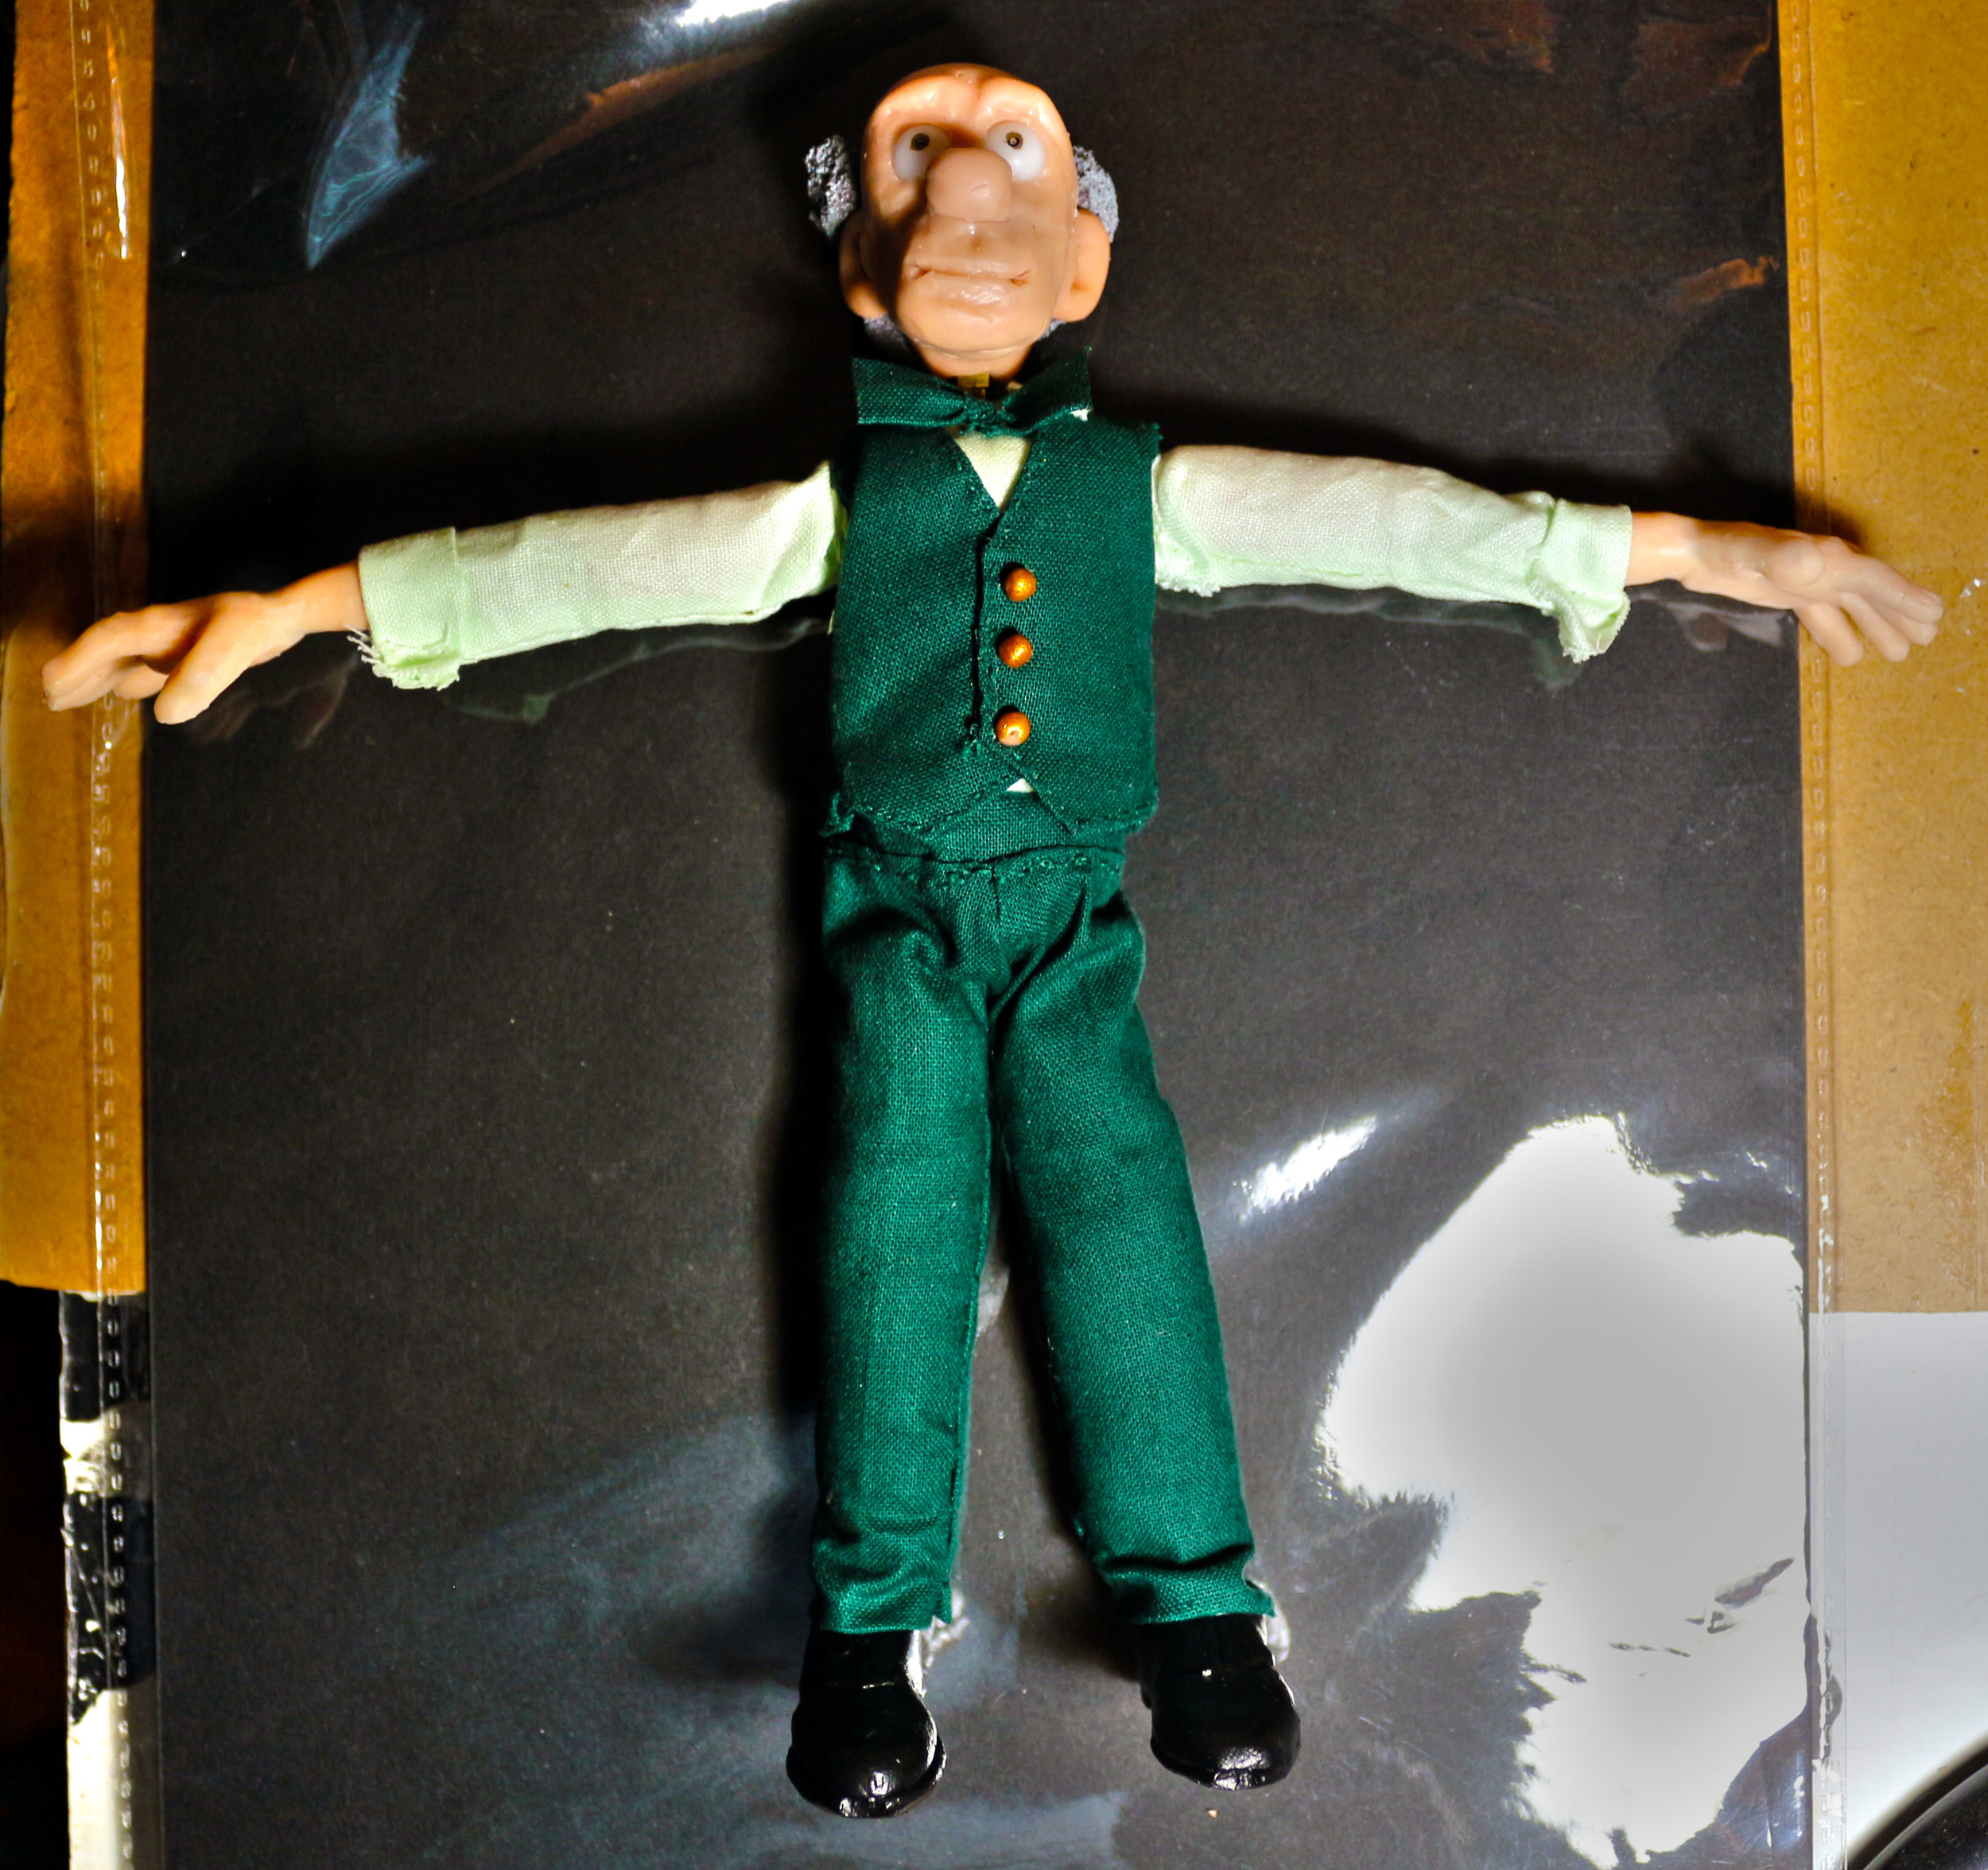
finished puppet
The set up for the shoot was a little tricky. Firstly, there are 2 cameras to think about. One for the shot and one to simulate a mirror. I needed to drill holes in the floor of the elevator for the tie-downs to come through (as well as the wire to rig the hat when he throws it). The lighting could only come from the roof so shadows weren't cast on the blue screen. However this meant that the bottom half of the scene was quite dark.

1. the set up 2. tie down access
Simulating a mirror was something I've always wanted to try. To me it's such a great trick that should help immerse the audience in the location and hopefully - if all goes to plan - will go completely unnoticed.
So to make it work, I took both removable walls off and lined the cameras up in Dragonframe using the centre cross. I also ran a piece of string between the lenses but I'm not sure that actually helped or was necessary.
Another thing to consider is both cameras need to be equal distance from the "mirror" not the elevator itself, which was an early mistake I made.
I then took a photo on both cameras with the respective walls in place, lined them up in photoshop to check it worked, then I was ready to animate.
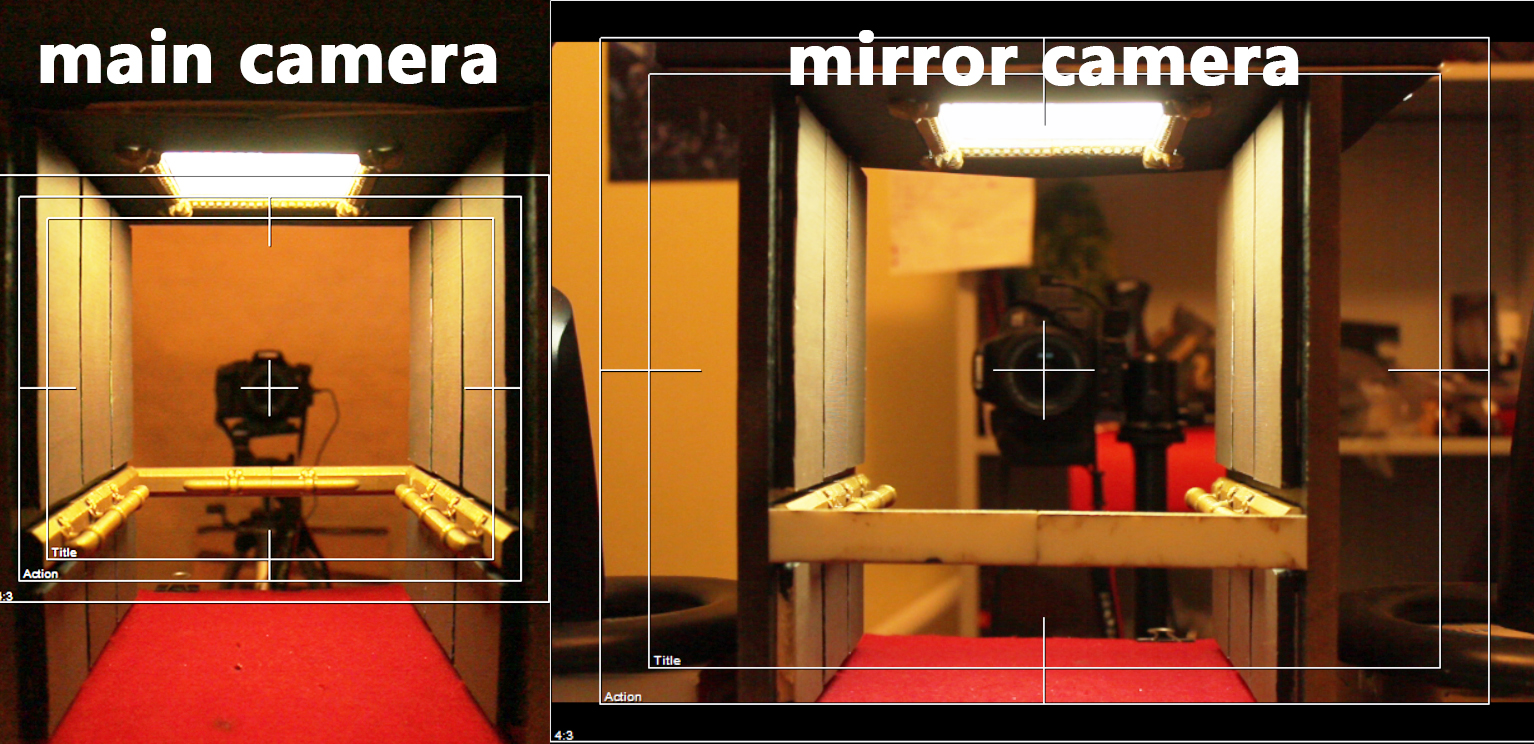
camera line up
The unique thing about animating this project was every time I took a photo in dragonframe, I needed to remove a wall, attach the opposite wall and then take a photo on the second camera using EOS utility (or a remote, but I didn't have one). So next time I animate I'll be relieved that I don't have to do that anymore.

In post-production I keyed out the blue screen and slightly blurred the mirror footage. I removed the wire holding the hat in mid air. I added the light flickering on and then off. And lastly I put a motion blur effect on the character to give it a bit of extra realism. I found the music at bensound.com called "the elevator bossa nova". If I'm honest this track sparked my interest in making the film in the first place. Below is the final film: